Showing posts with label home decorations. Show all posts

11/14/13

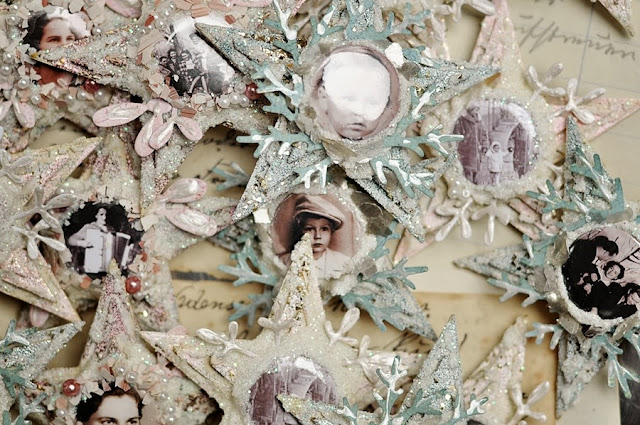
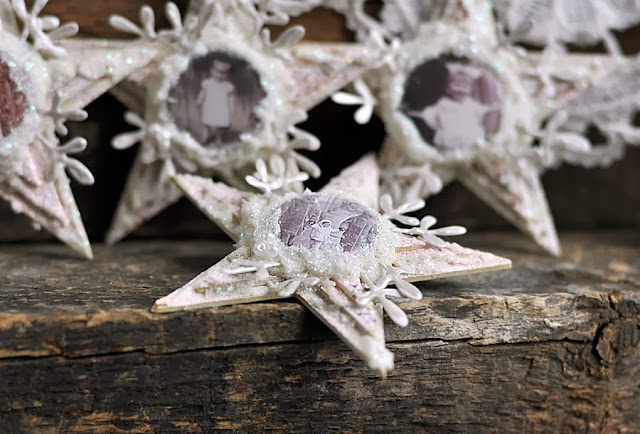
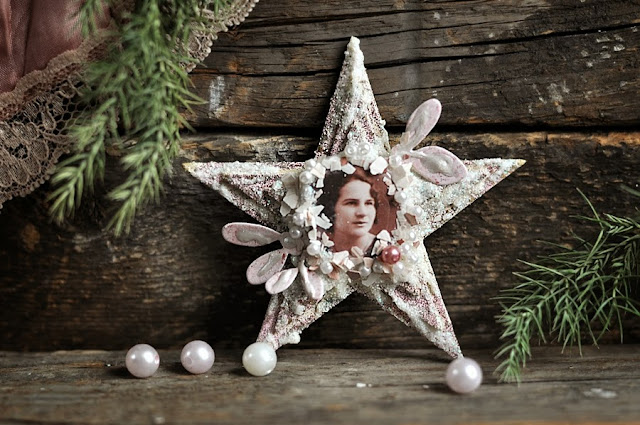
Cynkowe gwiazdki + WARSZTATY * starry christmas decorations by Cynka

gwiazdki vintage
z użyciem
cudownych badzików z 3rd Eye

nie mogłam się oprzeć ich urokowi
i jak tylko je zobaczyłam
to i pomysł się pojawił

tak powstały mixmediowe gwiazdki
skrzące, błyszczące
świąteczne:)
vintage stars
using
wonderful flair buttons from 3rd Eye

I could not resist their charm
and as soon as I saw them
This idea appeared

thus formed mixedmedia stars
sparkling, shiny
in Christmas theme :)


DSC_0120.JPG


Użyte produkty: Used products:
TEBS001   zestaw badzików TEBS002 Everyday Vintage - Codziennie   zestaw badzików TEBS003 Vintage Portraits - Portrety


DSC_0129.JPG

chłopcy...   boys...

DSC_0119.JPG

DSC_0097.JPG

DSC_0098.JPG

DSC_0141.JPG

dziewczęta... girls...

DSC_0054.JPG

DSC_0065.JPG
  
DSC_0072.JPG

DSC_0075.JPG

DSC_0078.JPG


DSC_0183.JPG

DSC_0156.JPG

DSC_0170.JPG


DSC_0174.JPG

towarzystwo mieszane... :)  all people... :)

DSC_0106.JPG

DSC_0115.JPG

 
DSC_0132.JPG

DSC_0135.JPG

Below info is about Cynka's classes in Poland.

UWAGA: Cynkowe WARSZTATY!
podczas których zrobicie podobne ozdoby z badzikami od 3rd Eye.

Więcej informacji i zapisy [tutaj]


11/11/13

Tutorial: Decorated candles * Kurs: Dekorowanie świec

Hello everyone, Witajcie wszyscy,

I love decorating my house with candles. I feel that their warm, cozy light make the darkest time of the year a bit more bearable. Candles make also perfect gifts for your friends and loved ones. Especially if they are uniquely personalized for the receiver.
Uwielbiam dekorować mój dom świeczkami. Uważam, że ich ciepło i przytulne światło czynią ciemniejszy czas w roku bardziej znośnym. Świece są też świetnym prezentem zarówno dla znajomych jak i bliższych nam osób, szczególnie jeśli świece są personalizowane!

For this simple technique you need your favourite 3rd Eye stamps, dye ink (StazOn or similar), tissue paper, baking paper, and a heat gun.
Do tej prostej techniki potrzebujecie ulubionych stempli 3rd Eye, tuszu permanentnego (np. StazOn), bibułki, papieru do pieczenia i nagrzewnicy.

Start with stamping the images on the tissue paper. Stamp on the textured side of the paper, not on the glossy side.
Zacznij od stemplowania na bibułce, po tej mniej gładkiej stronie, nie błyszczącej.


Tiny marks on the back of the stamp make aligning and continuing the image very easy.
W przedłużaniu wzorów pomocne będą oznaczenia z tyłu.


When finished cut the image around the edges. You don't need to cut it out too precisely but can leave a few millimeter border around the image.
Następny krok to wycięcie wzoru. Nie musisz wycinać go dokładnie - paromilimetrowa obwódka będzie jak najbardziej na miejscu.


Wrap the stamped tissue paper around the candle, with glossy side facing the candle. Wrap a piece of baking paper around the tissue paper. This will keep your image from wrinkling.
Heat the image with heat gun. Don't put the heat gun too close to the candle as the surface will melt too quickly. A bit of patience is needed during this phase!
Owiń świecę bibułką, błyszczącą stroną w stronę świecy. Dookoła owiń też papier do pieczenia - to zapobiegnie marszczeniu się wzoru. 
Podgrzej obrazek nagrzewnicą. Nie przystawiaj nagrzewnicy za blisko, świeca szybko się rozpuszcza. Tutaj potrzebna jest odrobina cierpliwości!


When the image starts to stick to the candle the tissue paper will become invisible. Also the image will become darker and you will see it clearly through the baking paper.
Kiedy obrazek zaczyna wtapiać się w świecę - bibułka staje się przezroczysta, a obrazek staje się ciemniejszy -  zauważysz to przez papier do pieczenia.


The stamped images can also be colored. I have used ProMarkers but I'm sure other markers will work just fine, too.
Stemplowany obrazek może być też pokolorowany. Sama używałam ProMarkerów ale jestem pewna, że inne markery też się sprawdzą.


Done! Gotowe!


Products used:  Użyte produkty:


Ściskam, Elina
Hugs, Elina

3/26/13

Altered Box

Today I want to share with you an altered box, I've made using 3rd Eye Stamps.
Dziś mam Wam do pokazania alterowane pudełko, ozdobiłam je oczywiście ze stemplami 3rd Eye.


  I covered the wooden box with acrylic paints and after drying, I made some heat embossing with golden powder using TES-088 Scales Stamp.
 I stamped over and there as I wanted to create some movement on the box.
Drewniane pudełko pokryłam farbą akrylową, a po porządnym wyschnięciu, zrobiłam wzory za pomocą embossingu na gorąco - złotego pudru i stempla TES-088 scales.

  Also I stamped with TES-066 funky leaves and heat embossed it with Antique powder.
Znajdziecie tu też listki TES-066 funky leaves embossowane za pomocą pudru w kolorze Antique.

  Love this effect with different powders with stamping.
Uwielbiam efekt użycia różnych odcieni pudru do embossingu.


And I stamped inside too. I had much fun while creating this box. Hope you will share with us your OTP projects too.
 Pudełko zostało też ozdobione w środku. Miałam przy tworzeniu dużo zabawy! Mam nadzieję, że pokażecie nam Wasze alterowane ze stemplami 3rd Eye przedmioty!


Użyte stemple: Used stamps:
TES-088 scales - łuski  funky leaves

3/25/13

Szybkie pisanki * Fast easter eggs

Easter is coming! How about your easter eggs? Do You paint empty shells? Maybe just boil eggs in coloring or with onion/carrot or other natural way?
Wielkanoc się zbliża! Myślicie o pisankach? Malujecie wydmuszki? Może po prostu ugotujecie jajka w barwnikach lub w łupinach cebuli lub obierkami marchwi?


Here You can see fast way for decorating easter eggs!
You can stamped them!
But how?
Ja mam dla Was szybki sposób na pisanki!
Przecież jajka można postemplować!
Tylko jak to zrobić?


5 rules of stamping eggs:
> Eggs must be clean.
> You need permanent ink for non-pourus surfaces (I used black StazOn)
> stamps should be unmounted (no pads)
> the best are stamps with fine pattern
> Check if ink is non-toxic - then You can use it on boiled eggs. If You can't find that info on ink - better use empty shells

5 zasad stemplowania pisanek:
> Jajka muszą być czyste.
> Potrzebny jest tusz permanentny do powierzchni nieporowatych (ja użyłam czarnego tuszu StazOn)
> stemple powinny byc niezamontowane na bloczkach
> najlepiej odbijają się stemple z drobnymi wzorami
> Jeśli widzisz informację "non-toxic" (lub "nietoksyczny") na tuszu - możesz stemplować ugotowane jajka. Jeśli nie widzisz takich napisów - lepiej postempluj wydmuszki.


Now, If You know these rules... > just grab unmounted stamp, > ink it, > place it on egg and bend on every side. Be careful! Don't move stamp.Jeśli już znasz powyższe zasady... > weź wybrany niezamocowany stempel, > potuszuj go, > połóż na skorupce i delikatnie dociskaj każdą stronę. Rób to ostrożnie, nie przesuwając stempla.


Easy, right?
Would be great if You'll show Your easter eggs stamped with 3rd Eye designs!
Łatwe, prawda? 
Koniecznie pokażcie Wasze pisanki stemplowane wzorami 3rd Eye!


Used stamps:        Użyte stemple:
TES-026S leaf small dots TES-083 honeycomb5TES-020S rose small TES-089 cogs2 cogs   TES-086 borders1 TES-087 borders2 meadow