Hello everyone / Witajcie wszyscy,
This week is filled with great inspiration! I'm sure you will all agree with me that 3rd Eye and Studio 75 are a perfect match, and I feel so happy for the opportunity to participate in this exciting design team merger during our '3rd Eye and Studio 75 Week'.
Ten tydzień jest wypełniony wspaniałymi inspiracjami! Na pewno zgodzicie się z tym, że 3rd Eye i Studio75 są idealnym połączeniem. Bardzo się cieszę, że mam okazję uczestniczyć w tej akcji!
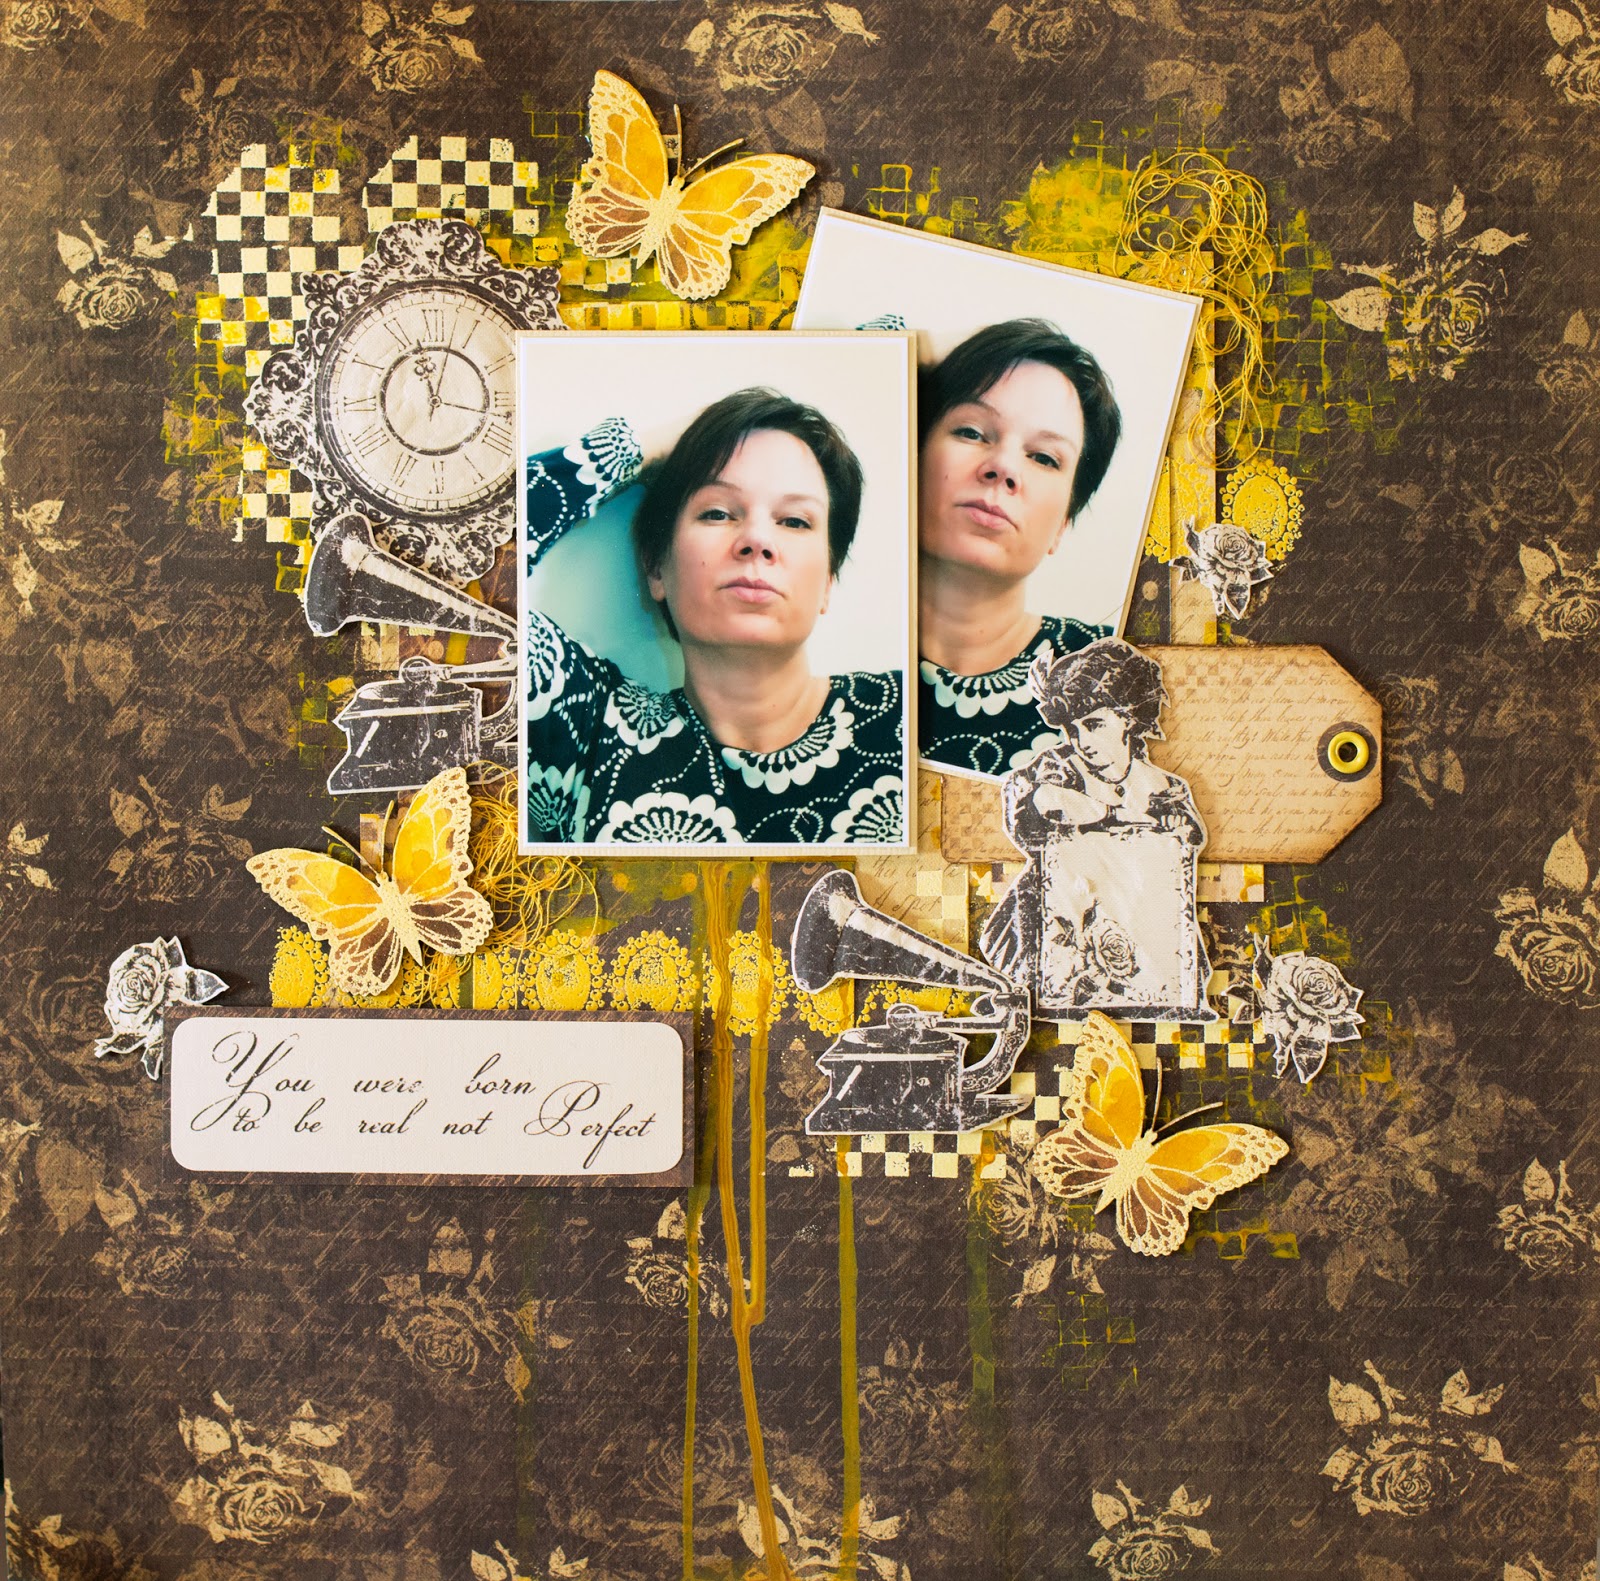
I love the Little Black dress collection by Studio 75. It's vintage images together with beautiful cream and brown colors matched nicely to my vintage colored photos.
Pokochałam kolekcję "Little black dress" ze Studio75. Vintazowe motywy z beżami i brązami będą pasować idealnie do moich vintażowo kolorowanych fotografii.
 I started my layout with fussy cutting the images I used for embellishing my layout. For cutting I used both a pair of sharp scissors and a crafting knife. When done I put the pieces upside down on a mouse pad and pressed them gently with a stylus. This created a nice 3D effect on my cuts.
Mój skrap zaczęłam od wycięcia elementów, którymi go ozdobię. Wycinałam i ostrymi nożyczkami, i craftowym nożem/skalpelem. Po wycięciu położyłam elementy na podkładce myszki komputerowej i przyciskałam je rylcem, by nadać im efekt 3d.
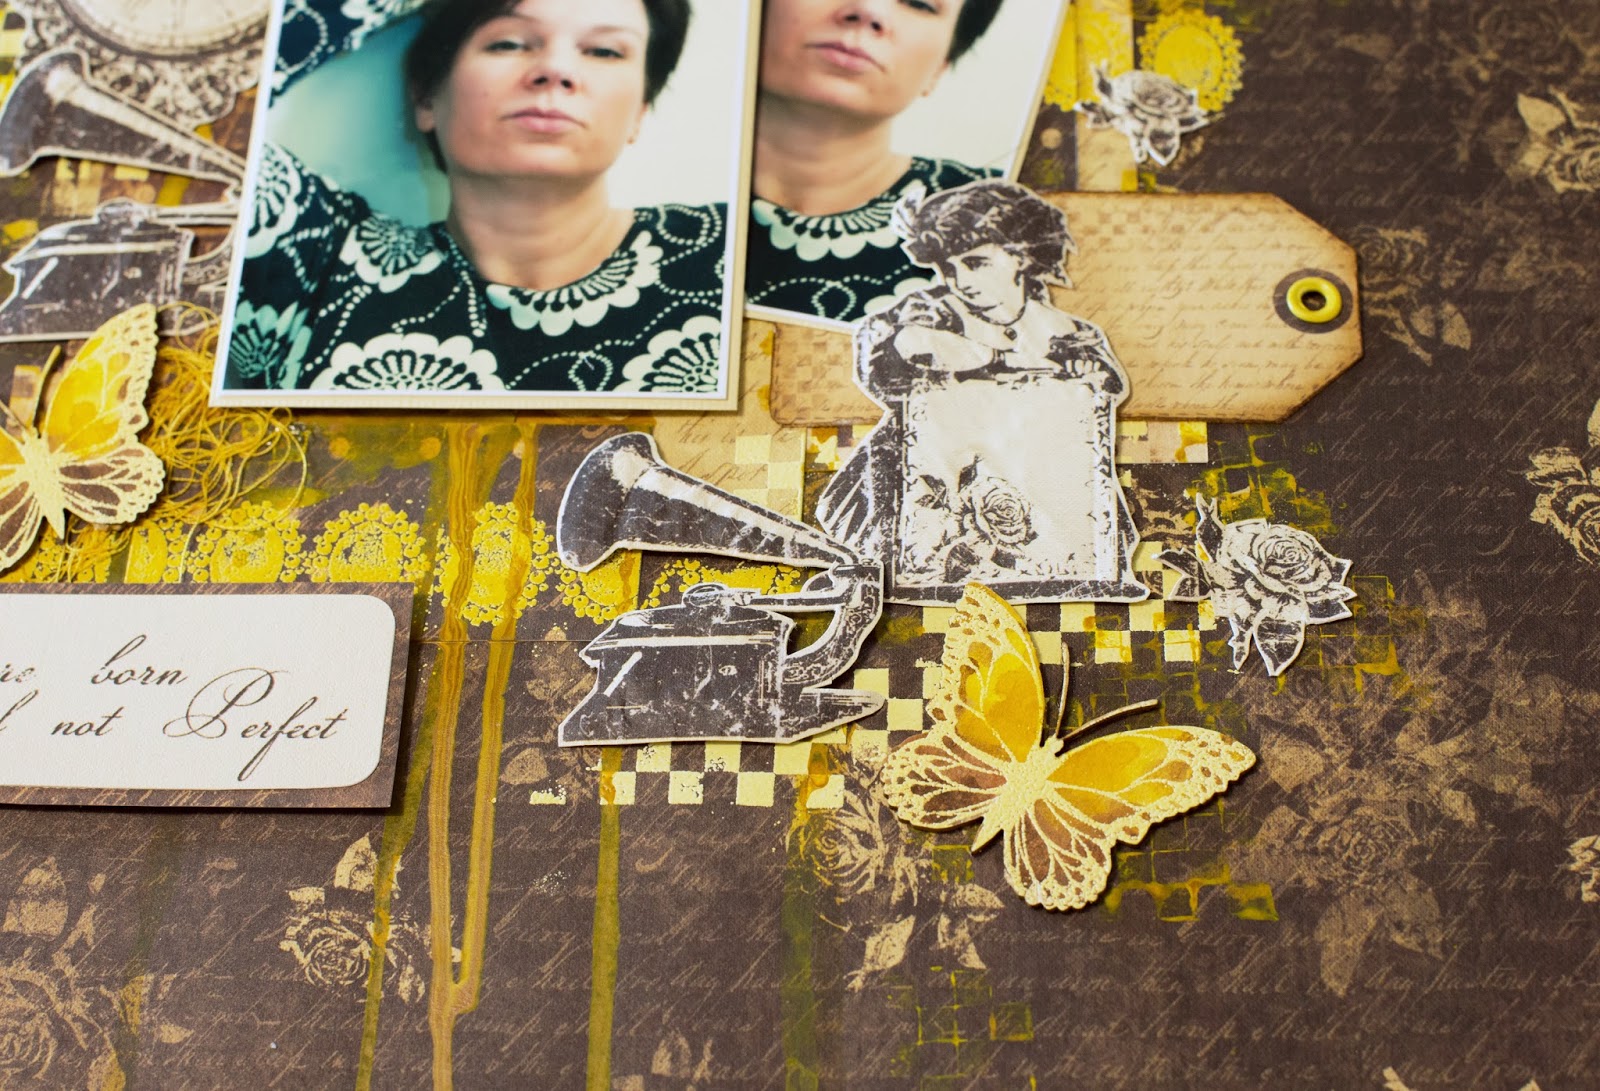
I continued with working on the chipboard butterflies by 3rd Eye. Using the matching butterfly stamp I stamped them with embossing ink, sprinkled yellow embossing powder on top and heated with a heat gun. When cooled I painted the chipboards with watercolors. I simply painted over the whole butterfly with 3 yellow and brown shades, and when dry I used a baby wipe to remove the color over the embossed lines.
Kolejny krok to ozdobienie motylej tekturki z 3rd Eye. Używając pasującego stempla z motylem dodałam na tekturce embossing na gorąco. Następnie pomalowałam tekturkę akwarelkami - trzema odcieniami żółtego i brązu. Po wyschnięciu farby użyłam mokrej chusteczki, by zetrzeć farbki z embossowanych fragmentów.
I started preparing the layout background by gluing down some strips of patterned paper to the area I planned to place my photos. I added some texture to the background using the Baroque border stamp and a darker yellow embossing powder, and the Checkerboard stamp with a lighter yellow powder. Then I continued the checkerboard pattern with stamping over the texture with yellow acrylic paint.
Note! When using acrylic paints or gesso for stamping please remember to clean your stamps soon after stamping. Warm water, hand soap and a soft old toothbrush will remove the paint and you will preserve the longevity of your stamps.
Tło zaczęłam od przyklejenia papierowych pasów na obszarze, na którym zaplanowałam fotografie. Dodałam trochę tekstury embossując wzór stempla "Baroque border" i żółtego pudru oraz szachownicy (tez stempla) oraz pudru w jaśniejszym żółtym odcieniu. Wzór szachownicy kontynuowałam odbijając stempel żółtą farbą akrylową. Uwaga: Kiedy stemplujesz farbami akrylowymi, gesso itp., musisz pamiętać, by zaraz po tym umyć stemple. Ciepła woda z mysłem i miękka szczoteczka do zębów łatwo usuną farbę ze stempla.
And here's my finished layout: Oto mój gotowy skrap:
Products used: Użyte produkty:
 I hope you will enjoy our inspiration week. I want to invite you to the Studio75 blog where you
can find more amazing projects featuring our goodies! Follow *this link* to check out what an amazing project Peninia has done for your inspiration:
I hope you will enjoy our inspiration week. I want to invite you to the Studio75 blog where you
can find more amazing projects featuring our goodies! Follow *this link* to check out what an amazing project Peninia has done for your inspiration:Mam nadzieję, że podoba Wam się nasz specjalny tydzień. Zapraszam Was też na blog Studio75, gdzie znajdziecie więcej inspiracji z naszymi produktami! Kliknij w *ten link* by obejrzeć fantastyczną pracę Peninia:
 Also remember to participate in our challenge for a chance to win an amazing set of 3rd Eye and Studio 75 products! Just follow *this link* Nie zapomnij wziąć udziału w naszym candy! Możesz wygrać wspaniały zestaw produktów 3rd Eye i Studio75! Kliknij *tutaj*
Have a great day! Hugs / Ściskam,
Elina


Gorgeous layout! Love the photos!
ReplyDeleteLovely layout and great photos! Love the butterflies and the color scheme, too!
ReplyDelete